In this tutorial, we are creating a bootable USB thumb drive on Windows system for installing another Windows to any desktop or laptop.
You will need
- USB thumb drive (preferably at least 4GB)
- Windows image in .ISO format
Preparing bootable USB thumb drive
- Stick in empty USB thumb drive to the computer.
- Run
cmd(type in start menu and press enter) - Type
DISKPART. This starts Windows built-in disk management software. You should see DiskPart version information and computer name and after it a prompt DISKPART > - Type
LIST DISKwhich will list your disks. USB drive is the smallest, mine is 15 GB. - To choose the USB thumb drive, type
SELECT DISK X. Your disk could be Disk 1-3 but you need to check the disk based on disk Size. 4 GB disk could be displayed as 3490 MB for example. Mine is 15 GB this time. Be extra careful, because if you choose the wrong disk, for example, your hard drive instead of the USB thumb drive, you could format your entire hard drive clean. I don’t take responsibility of that. - Type these commands in this particular order:
CLEAN,CREATE PARTITION PRIMARY,SELECT PARTITION 1,ACTIVE,FORMAT FS=NTFS. These commands will format the USB drive to NTFS and create the primary partition for it. This could take a while, but you’ll see the progress directly. - Type
ASSIGNand right afterEXIT. Now we have a bootable drive.
“Burning” Windows to disk
- Download the free version of DAEMON Tools Lite, install (use the free licence, decline Wajam and other possible adware, choose Custom installation and don’t install adware like PC Mechanic) and run DAEMON Tools Lite after installing.
- Make virtual drive of Windows image file by choosing Images and plus icon (Add Image). Locate your Windows image .ISO file. Right click on the disk icon and choose Mount.
- Run File Explorer and go to My Computer (or This PC on Windows 10) and check what’s the drive letter in mounted virtual DVD-drive. Mine is F:, you could be something else. Also, make notes what’s the USB thumb drive letter. Mine’s E:
- Open start menu, type
cmd, right click CMD.EXE and click Run As Administrator. Then typeF:(in place of F: you should type your DVD drive letter) and directly aftercd boot - Type
BOOTSECT.EXE/NT60 E:(In place of E: obviously your USB thumb drive letter). You should see the boot code, couple of messages and the last message: “Bootcode was successfully updated on all targeted volumes.” - Copy everything from mounted DVD drive to USB thumb drive with command
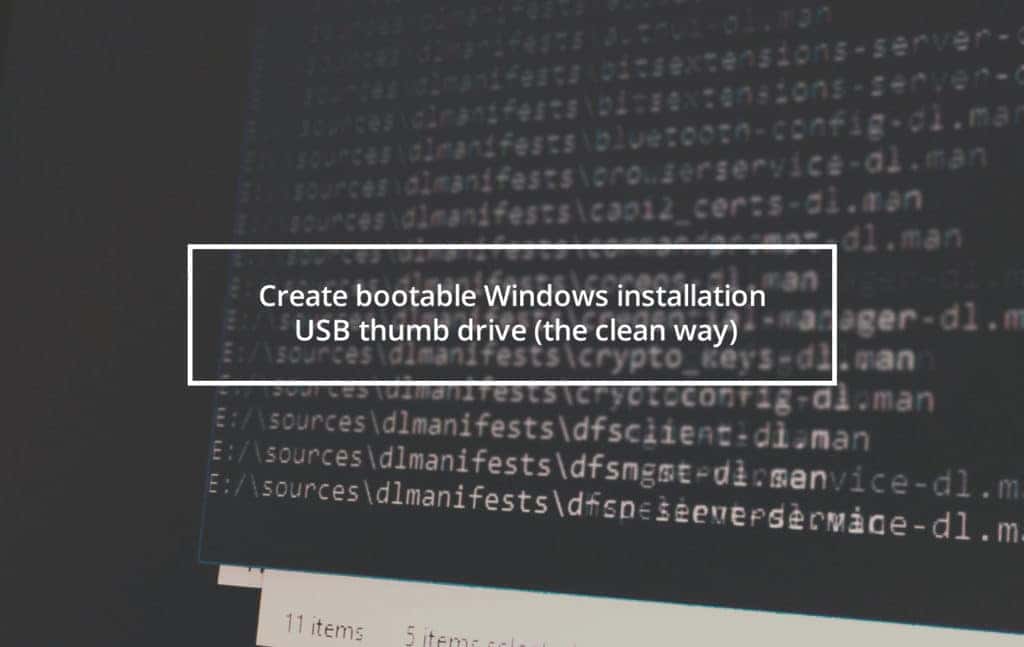
xcopy "F:/" "E:/" /e /C /R(still assuming that mounted Windows drive letter is F: and USB thumb drive letter is E:)
And we’re done! Because this is a clean way to do this (raw commands instead of any buggy software), it always works. If not, you did something wrong or the issue is with your computer (for example I once had old BIOS that wouldn’t boot). Now you can stick the USB drive into the computer you need to install Windows and start installing.
Thanks for reading! I need your attention for a moment.
Did your problem got solved? Did you enjoy this post? If so, consider thanking me on Patreon. Doing this is not free and I'd love you buy me a beer or coffee. If you do that, I might be able to help you if you didn't get your problem solved with this blog post. I know my shit around areas like website design, coding, blogging, digital marketing and SEO so if you want to do business with me in other ways let me know.